Mathieu Domecq
Editor-in-chief of the API blog of the month
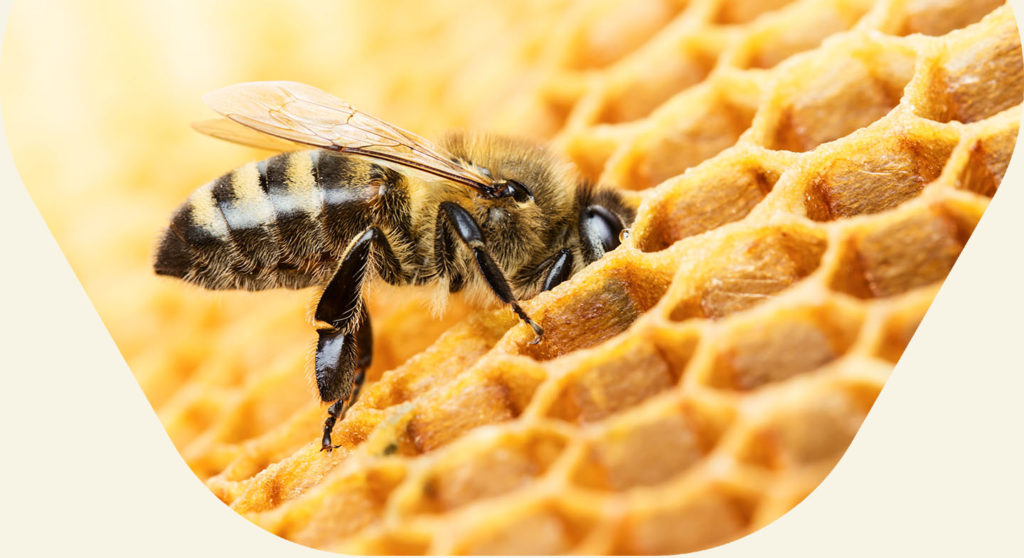
This month in your API blog of the month, we shall focus on harvesting honey through the different stages from the super to the honeypot: brushing, uncapping, label standards, etc. This year, many of you will be starting your first harvest. In two years, there have been almost 20,000 new amateur beekeepers in the country!
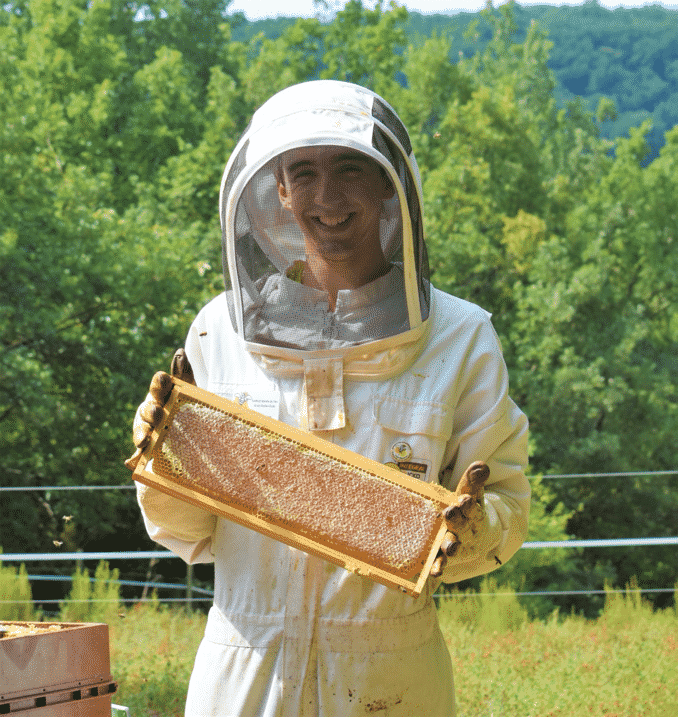
Lift the supers and harvest the honey
Removing the supers to extract the honey stored since May is the last big step for the beekeepers before wintering their colonies. This harvest does have consequences in terms of the stress caused to the bees. That is why you need to be fast and efficient. Consider harvesting on a nice day, without wind and with a high temperature, at the start or end of the day to make it easier for you!
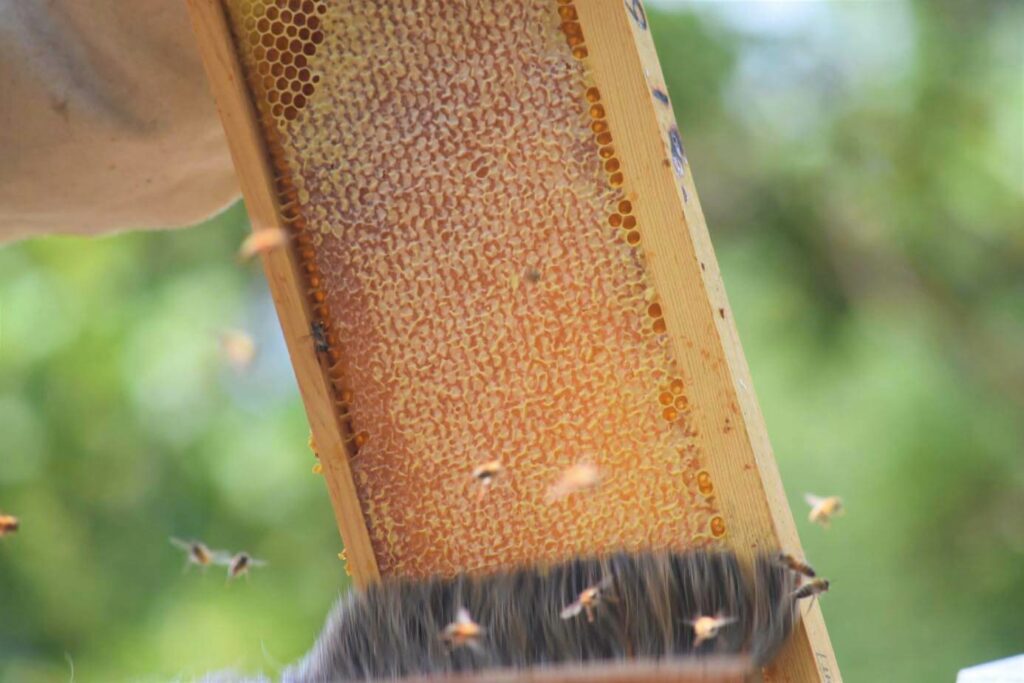
Here we shall talk about the most common method used for amateur beekeeping: the brush. Apart from this, people also use a bee escape or a blower.
Start by opening your beehive, hardly using the smoker on the super so that you do not leave any sense of burning when tasting your honey.
A natural hair or nylon brush enables you to sweep out the bees. Depending on how it is used, it can make the bees aggressive. You have to brush firmly and energetically because if you do it gently, you will roll the bees into the brush and irritate them. The trick is to shake your frames in front of the beehive first by hitting them with your wrist (but not on the beehive). You will remove a lot of the bees going in through the door. You then brush out the rest of the bees before placing this frame in an empty super, covered with a roof and with a base to create a box. The aim is not to leave with bees in it!
I recommend this technique when you have fewer than ten beehives in one place to avoid aggravation spreading to all the hives before you have finished.
Extraction steps
Getting equipped for honey extraction can soon be expensive. Instead, look at what you wish to do later. If your goal is to have at least three or five beehives, then do start investing in a small appliance. Otherwise, every beekeeping store offers honey kit rental. Please note that this service is in great demand during harvest periods so I recommend you book it in advance!
To get started, you will need an uncapping tray. Once you have cleared the bees from the supers, you will be able to remove the wax cap (which clogs the honeycombs) in this tray, frame by frame, using a knife and a harrow, a kind of fork that will reach the difficult places. Use the knife from top to bottom by sliding along the wood of the frame with a sawing motion.
Once both sides of the frame are uncapped, you can now place it in the extractor.
The extractor is the iconic harvesting tool. The honey will be ejected from the honeycomb by the centrifugal force. You will collect it at the bottom of the bowl through the tap outlet. Once centrifuged in both directions, put the frames to be licked outside (a cloud of bees will form for a few days to collect the last drops of honey). This way, your super will be clean and can be stored without you needing to do anything else, and all you have to do is rest it on a beehive in the spring. As the honeycombs have already been built, the bees will have less work and it will fill up faster!
After extraction, have a bucket placed fitted with a sieve/strainer to collect the honey and clean it of impurities (wax, bee feet, etc.).
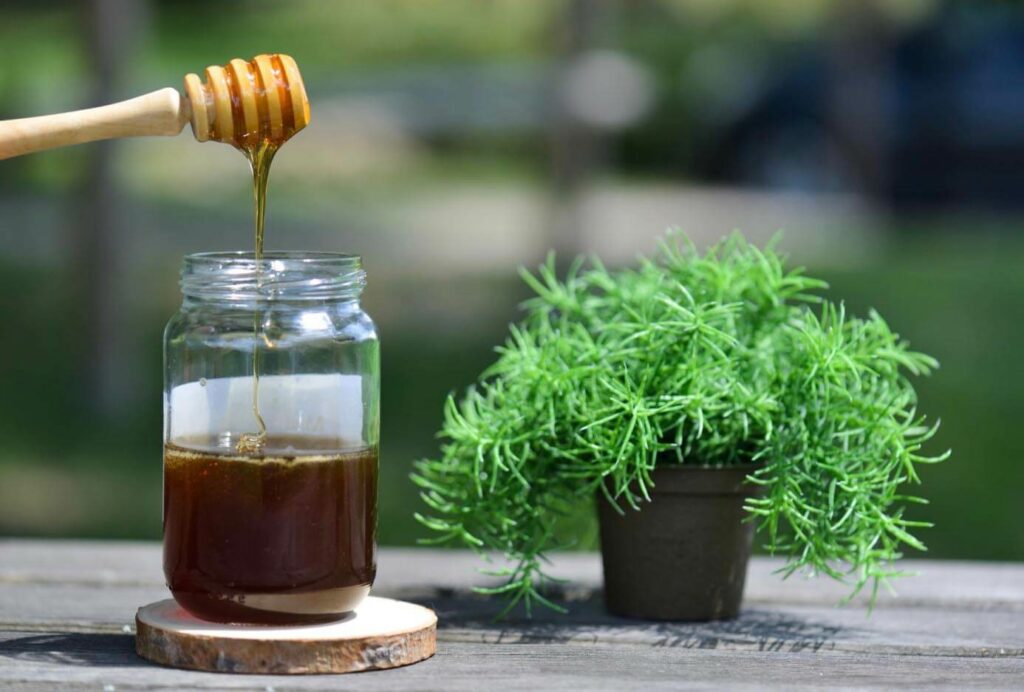
To obtain a consistent honey, the final step is the ripening. Leave the honey to rest for a few days (between 2 and 5) in a ripener. This is a stainless steel tank (or perhaps plastic) with a tap at the bottom. All sizes are available (50 kg, 100 kg, 200 kg and above).
After a few days, you can now pot it!
Labelling regulations
Affixing a label to your honeypot still requires some mandatory information! Whether you give it to your friends or sell it, here are the terms you will need on your label:
– the designation ‘honey’, which may be supplemented with ‘flowers’, ‘summer’, ‘sunflower’ or ‘mountain’, depending on its origin. Please note, amateur beekeepers often put ‘honey from all flowers’: this wording is strictly forbidden!
– Details of the harvester: ‘your name’ or ‘trade name’ and the address – ‘municipality, postal code’.
– The weight in the pot in the form: ‘Net weight: XXX g’.
– The honey’s country of origin in the form: ‘French honey’, ‘Origin France’ or ‘Harvested in France’, if the honey is French!
– The expiry date (two years after harvest) in the form: ‘Best before: month year’.
As usual, share photos of your harvest with us: they will be posted on our website from social media using the hashtag: #apifonda #apiinvert!
We shall be back next month on your API blog with your faithful partner, Les Ruchers De Mathieu!
![]()
LES RUCHERS DE MATHIEU
Honey & Beekeeping Shop
Photos ©lesruchersdemathieu